Blog
Events
Ask Sky
SHMU Store

Sunday, May 20, 2012

Review: NIVEA Essential Care Lip Balm

NIVEA - for lips that love to talk, smile, laugh and kiss.
NIVEA Essential Care Lip Balm

These past few weeks my lips were very dry because of the changing weather. Last April 27, 2012, I had to pass all the needed requirements for my job application. I had to wait for my sister until 6pm, so I went to Landmark to look for my office skirts. Of course, a trip to Landmark will not be complete without going to the Beauty Section. I saw the NIVEA Essential Care Lip Balm (FOR ONLY 79.75PHP) and bit my dry lips. I told myself that this could be the answer to my lip problem! Let's get started!

About the product: Ingredients:
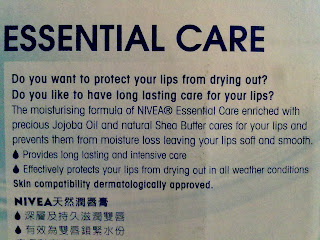
About - NIVEA Essential Care Lip Balm
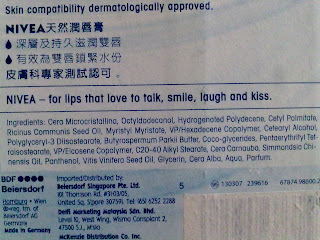
Ingredients - NIVEA Essential Care Lip Balm


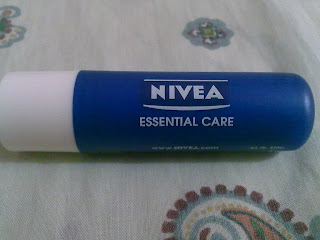
Product Up Close!
NIVEA Essential Care Lip Balm Manufacturing Date - NIVEA Essential Care Lip Balm
NIVEA Essential Care Lip Balm BELOW: Manufacturing Date.

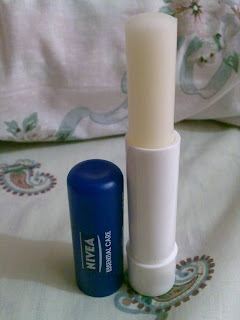
NIVEA Essential Care Lip Balm

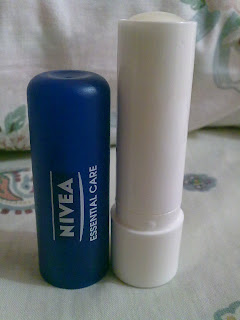
NIVEA Essential Care Lip Balm
Twist type lip balm. Size of the product inside the container.


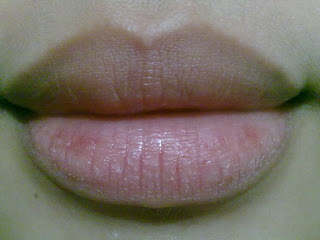
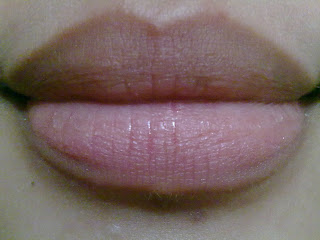
Lips BEFORE:
Lips Before - NIVEA Essential Care Lip Balm


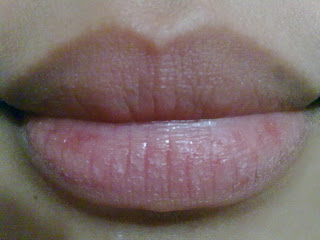
Lips BEFORE (with product on):
Lips Before with NIVEA Essential Care Lip Balm


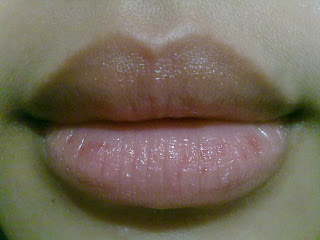
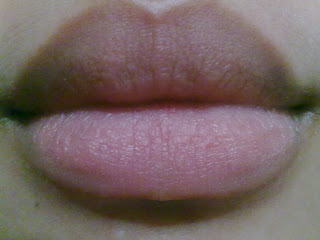
Lips AFTER 2 Weeks:
Lips After - NIVEA Essential Care Lip Balm


I don't know if you can see the difference. Just to be sure, I'll show the BEFORE and AFTER pictures again side by side.


BEFORE:


AFTER:
Lips Before - NIVEA Essential Care Lip Balm
Lips After - NIVEA Essential Care Lip Balm

Verdict Time!

What I love:

  • THE SCENT!! Gosh! It smells so yummy, like vanilla candy!
  • The feeling while the product was on my lips. It's not sticky/greasy. It has a creamy texture.
  • We all know that using matte lipstick tends to dry our lips. Just use this as your base and  you can layer on your favorite matte lipstick without any worries of getting dry lips.

What I hate:

  • The product was too soft. When I glide it on my lips the whole stick was also moving to the sides. I checked the bottom of the product and saw a crack. Boohoo! :(
SCORE: 8.5/10

What's your favorite Lip Balm?
Comment Below! :)

Tuesday, May 1, 2012

How to: Depot NYX Jumbo Eyeshadow Pencil (NO HEAT!)

NYX Jumbo Eye Pencil in Yogurt

I thought NYX Jumbo Eye Pencil is an auto-retractable pencil. FAIL!! I still need a sharpener that big to get all the product inside it. :| Because I don't have a sharpener that big BUT I have an empty container, I have decided to DEPOT my Jumbo Eye Pencil in Yogurt. BTW!! No heat needed! Yey! :D

What you need:
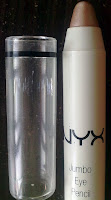
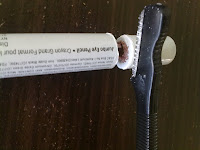
Small Empty Container - NYX Jumbo Eye Pencil in Yogurt Eyebrow Shaver - NYX Jumbo Eye Pencil in Yogurt
Stick - NYX Jumbo Eye Pencil in Yogurt
NYX Jumbo Eye Pencil in Yogurt
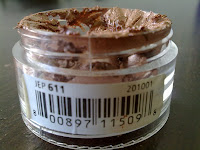
An empty container. BTW.
Save the label for future reference.
You can use a cutter
or an eyebrow shaver.
You can use any stick.
Make sure that it will
fit in the pencil hole.
NYX Jumbo Eye Pencil in Yogurt.

STEP 1:
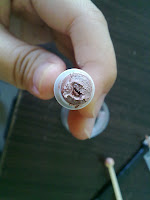
Step 1 - Depot NYX Jumbo Eye Pencil in Yogurt
Using your cutter or your eyebrow shaver, cut the end of the pencil. WARNING: BE CAREFUL NOT TO HURT YOURSELF.
STEP 2:
Step 2 - Depot NYX Jumbo Eye Pencil in Yogurt
Using the cover of your pen or any stick you have, scoop out the product near the hole opening.
STEP 3:
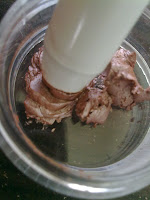
Step 3 - Depot NYX Jumbo Eye Pencil in Yogurt
Push down the tip of the pencil in your container to make it flat.
STEP 4:
Step 4 - Depot NYX Jumbo Eye Pencil in Yogurt
Push out the remaining product inside using your pen or any stick you have. It will be easier for you to push out the product if you set your NYX Jumbo Eye Pencil inside your freezer for 5-10 mins. See it in action! Watch the short video below. Enjoy!

FINISH!
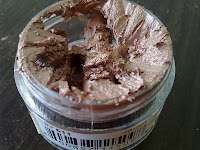
Finish Product - Depot NYX Jumbo Eye Pencil in Yogurt
Cream Eyeshadow on the go! No Need to use a sharpener. YEY!
GOOD LUCK!
Stay tuned for my next blog post.