

|

|

|

|
Thursday, July 11, 2013

Tuesday, June 25, 2013
Thursday, September 27, 2012
Guest Blogger: Sexy Tina - Review: VMV So Clear Oil-Absorbing, Clarifying Pressed Powder in Ochre
I have oily skin and that has been a problem for me ever since.
Whenever I apply make up, I have to reapply it every hour or so which
is quite a hassle especially at night when I'm out with my friends.
I've been using only the basic J&J baby powder ever since because
my skin is quite sensitive and im too afraid to use other products because
they might cause breakouts. But since I discovered that VMV
works well for me through using their blush on, I got interested to
buy their oil control powder too.
Strolling around the make up counters at a mall in Makati, I found
out that VMV offers oil control powders in 5 shades. I picked
OCHRE since it is similar to my skin color. The market price for
this powder is 1700 but VMV is having a 40% sale on all powders
so you can own one for only P1020. According to the sales lady, the powder
will make you oil free up to two hours. Let's prove (or disprove) that!
Here are the pros and cons of this powder:
Pros:
1. Comes in a nice looking pouch bag, as all VMV products do.
2. Comes with powder foam.
3. Has little to no fragrance
4. The texture of the powder is really fine and blends well into the skin.
Cons
1. Little to no coverage so you cant use it on it's own.
The powder did keep me oil free for two hours, but that is considering
that for the entire two hours, I only stayed in the office, which is an
airconditioned building. I have yet to test if it still works the same way when
I'm out and exposed to the sun. Given that, I can still say that I love
the VMV powder and it's a really great deal if you get it on sale! :)
- Sexy Tina <3

----------------------------------------------------------------------------------------------------------------------------------

Whenever I apply make up, I have to reapply it every hour or so which
is quite a hassle especially at night when I'm out with my friends.
I've been using only the basic J&J baby powder ever since because
they might cause breakouts. But since I discovered that VMV
works well for me through using their blush on, I got interested to
buy their oil control powder too.
Strolling around the make up counters at a mall in Makati, I found
out that VMV offers oil control powders in 5 shades. I picked
OCHRE since it is similar to my skin color. The market price for
this powder is 1700 but VMV is having a 40% sale on all powders
so you can own one for only P1020. According to the sales lady, the powder
will make you oil free up to two hours. Let's prove (or disprove) that!
|
| ||||
|
| ||||
|
|


Here are the pros and cons of this powder:
Pros:
1. Comes in a nice looking pouch bag, as all VMV products do.
2. Comes with powder foam.
3. Has little to no fragrance
4. The texture of the powder is really fine and blends well into the skin.
Cons
1. Little to no coverage so you cant use it on it's own.
The powder did keep me oil free for two hours, but that is considering
that for the entire two hours, I only stayed in the office, which is an
airconditioned building. I have yet to test if it still works the same way when
I'm out and exposed to the sun. Given that, I can still say that I love
the VMV powder and it's a really great deal if you get it on sale! :)
- Sexy Tina <3

----------------------------------------------------------------------------------------------------------------------------------
Do you love VMV too? <3
Share your experience and be the next Guest Blogger! :)
Monday, September 24, 2012
On the go Review: Elizabeth Arden High Shine Lip Gloss

Why on the go Review?? Well..I'm actually using my phone to write this review and I'm at the office right now. Sshh! Don't tell my boss. Haha. Ok let's start!
This lip gloss was a gift to my sister but lucky me, my sister is not fond of make-up like me. So.. Now it's all MINE!!! Hahaha.
The product:
 |
| Inside the box. |
 |
| Applicator inside the tube. |
 |
| Swatch on my hand. |
 |
| Without Lip Gloss |
 |
| With Lip Gloss |
Verdict Time!!
What I love about it:
- The color, Rosegold. Great color for autumn. Complete your natural look with this Lip Gloss.
- The smell. It smells like chocolate. Close to chocolate. Haha. Yum!
- The packaging. You'll hear a 'click' sound when you close it. (No more overturning the tube accidents!)
What I hate about it:
- The consistency. Very thick and sticky. Same feeling when you apply it on your lips. Sticky and heavy.
- If you have dry and chapped lips, this is not the lip gloss for you. (Very drying for the lips.)
- The package said "High Shine Lip Gloss". Actually I don't see any shine. I only have gold glitters on my lips. (but it's not shining.)
Score: 3/10
Repurchase? No.
What's your favorite Lip Gloss?
Comment Below! :)
Sunday, July 1, 2012
15 hrs of Hairstyling Workshop @ SUESH Makeup Workshops
I'm really planning on joining the class many months ago. Sadly, I didn't have enough moolah to pay for my tuition. BUT... thanks to my very loving, understanding and generous sister, she took care of the tuition fee! I'm so excited! I was scheduled to have my classes last April 21, 28 and May 5. I will be sharing with you guys this amazing experience and some short tutorials to sum up what I've learned in my class.
Last April 21, 2012 was (FINALLY!!) my first hairstyling workshop with Ms. Dara Plan.
Introducing Ms. Dara Plan,
Our first assignment for that day was Blowdrying with Volume. Here are some pictures from our first day.
Introducing Ms. Dara Plan,
"A makeup artist, a trainor, a salon owner - these are only a few of the extensive credentials Dara holds. Dara is also currently the owner of her own training center called Dara Plan's Makeover Wonders Training Center. She is also the Beauty Consultant for both the Rustan's Group of Companies and for Watson's Personal Care Store."
- from SUESH's Workshop brochureWe introduced ourselves before we started our lesson. Ms. Dara prepared a short presentation for us about the history of different hairstyles, image and right posture and different face shapes.
Our first assignment for that day was Blowdrying with Volume. Here are some pictures from our first day.
The Student | The Model |
.jpg) |  |
The Mannequin Head |
The Blower |
 |
+-+Main+Weapon+-+The+Blower.jpg) |
The Work Area |
 |
Learning the right way of sectioning the hair. | |
 |  |
My classmates! |
 |
|
 |
After class. Vain moments with my beautiful model/sister. | |
 |  |
 |  |
What I have learned...
Practice what you preach. Your image shows who you are and what you can do for your (future) clients. How you present yourself to others is the best way of advertising your work.How about you guys?
Any workshop in mind you want to join?
Comment Below! :)

Sunday, May 20, 2012
Review: NIVEA Essential Care Lip Balm
NIVEA - for lips that love to talk, smile, laugh and kiss.

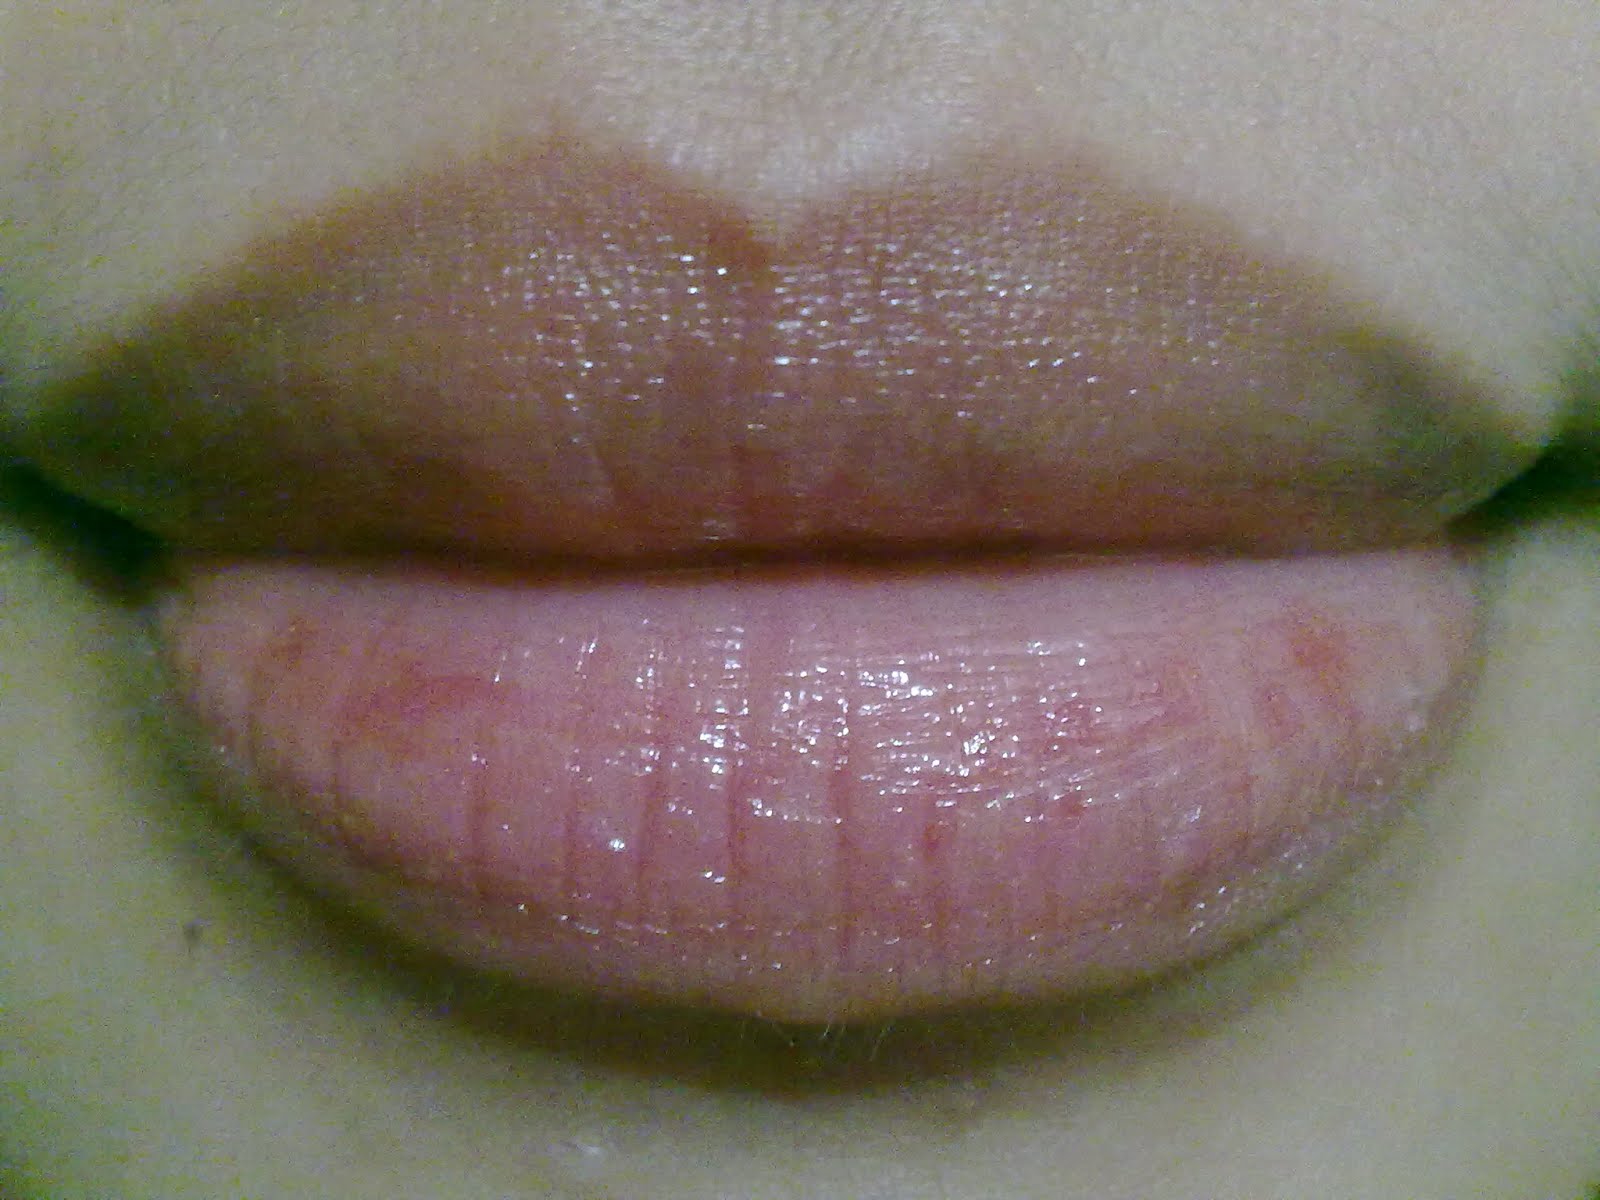
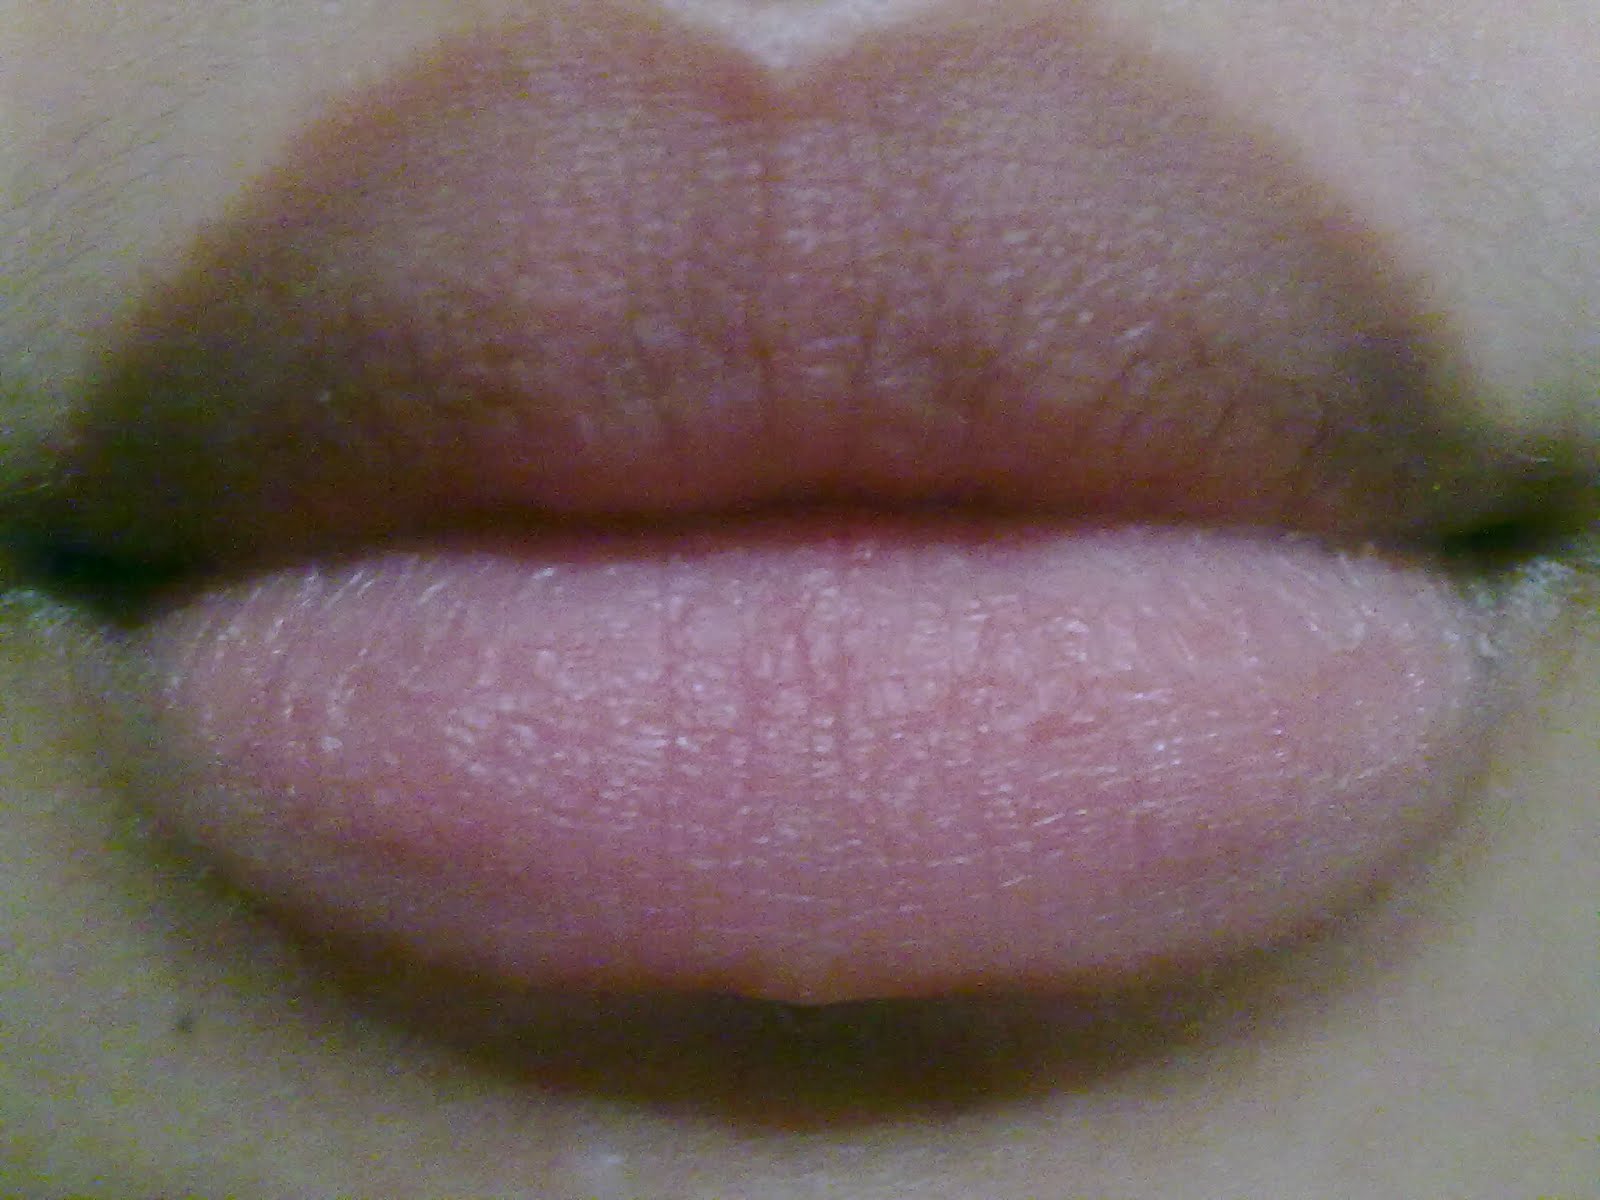
These past few weeks my lips were very dry because of the changing weather. Last April 27, 2012, I had to pass all the needed requirements for my job application. I had to wait for my sister until 6pm, so I went to Landmark to look for my office skirts. Of course, a trip to Landmark will not be complete without going to the Beauty Section. I saw the NIVEA Essential Care Lip Balm (FOR ONLY 79.75PHP) and bit my dry lips. I told myself that this could be the answer to my lip problem! Let's get started!
| About the product: | Ingredients: |
 |
 |
 |
 |
| NIVEA Essential Care Lip Balm | BELOW: Manufacturing Date. |
 |
 |
| Twist type lip balm. | Size of the product inside the container. |
 |
 |
 |
 |
 |
 |
I don't know if you can see the difference. Just to be sure, I'll show the BEFORE and AFTER pictures again side by side. | |
BEFORE: |
AFTER: |
 |
 |
Verdict Time!
What I love:
- THE SCENT!! Gosh! It smells so yummy, like vanilla candy!
- The feeling while the product was on my lips. It's not sticky/greasy. It has a creamy texture.
- We all know that using matte lipstick tends to dry our lips. Just use this as your base and you can layer on your favorite matte lipstick without any worries of getting dry lips.
What I hate:
- The product was too soft. When I glide it on my lips the whole stick was also moving to the sides. I checked the bottom of the product and saw a crack. Boohoo! :(
SCORE: 8.5/10
What's your favorite Lip Balm?
Comment Below! :)
Tuesday, May 1, 2012
How to: Depot NYX Jumbo Eyeshadow Pencil (NO HEAT!)

I thought NYX Jumbo Eye Pencil is an auto-retractable pencil. FAIL!! I still need a sharpener that big to get all the product inside it. :| Because I don't have a sharpener that big BUT I have an empty container, I have decided to DEPOT my Jumbo Eye Pencil in Yogurt. BTW!! No heat needed! Yey! :D
What you need:
 |
 |
 |
 |
An empty container. BTW.
Save the label for future reference.
|
You can use a cutter
or an eyebrow shaver.
|
You can use any stick.
Make sure that it will
fit in the pencil hole.
|
NYX Jumbo Eye Pencil in Yogurt.
|
STEP 1:
|
||
 |
 |
Using your cutter or your eyebrow shaver, cut the end of the pencil. WARNING: BE CAREFUL NOT TO HURT YOURSELF.
|
STEP 2:
|
||
 |
 |
Using the cover of your pen or any stick you have, scoop out the product near the hole opening.
|
STEP 3:
|
||
 |
 |
Push down the tip of the pencil in your container to make it flat.
|
STEP 4:
|
||
 |
Push out the remaining product inside using your pen or any stick you have. It will be easier for you to push out the product if you set your NYX Jumbo Eye Pencil inside your freezer for 5-10 mins. See it in action! Watch the short video below. Enjoy!
| |
FINISH!
|
||
 |
 |
Cream Eyeshadow on the go! No Need to use a sharpener. YEY!
|
Stay tuned for my next blog post.

Subscribe to:
Posts (Atom)